কীভাবে আপনার নিজের ক্রিকেট ব্যাট তৈরি করবেন
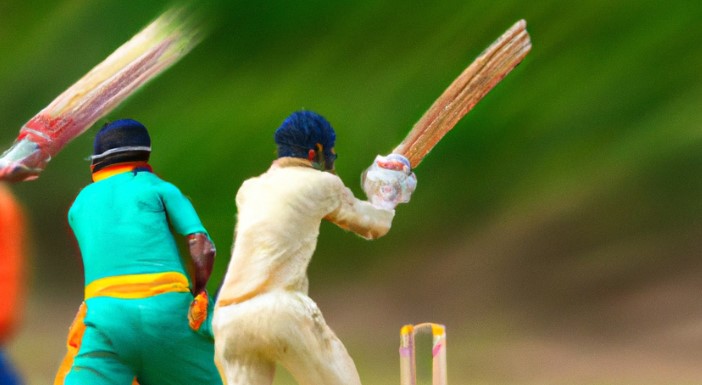
Cricket is a popular sport in countries around the world, and the equipment plays an integral part. The most notable piece of kit used by cricketers is the cricket bat, which is swung to send the ball flying out towards their opponents. If you’re interested in not just playing cricket but also being more involved with your gear, making your cricket bat can be a rewarding endeavour. Here’s how you can make your own cricket bat.
Understand Cricket Bat Anatomy
Before diving into making your own cricket bat, it pays off to understand a bit about its anatomy. A traditional cricket bat mainly has three parts: the handle, the shoulder, and the blade. The handle is made from cane or wood; while with superior quality, both sides are layered up tightly for better performance. The blade connects to this handle through a thick portion known as the shoulder. When assembling these parts at home, take care to ensure they are attached correctly to provide maximum functionality of your handmade bat.
Selecting Your Wood
The next step in making your own cricket bat involves selecting your wood meticulously. English willow is widely acknowledged as the best type of wood for crafting high-quality bats due to its excellent shock-resistant quality that ensures durability. When purchasing wood, look out for straight grains – a sign of matured wood which offers better performance.
Cutting and Shaping
After sourcing suitable willow pieces, trace out the ideal shape on the block then cut accordingly using either handsaw or bandsaw. Remember that other than regulations dictating size—maximum length 96 cm (38 inches) and width 10.8 cm (4.25 inches)—the exact shape largely varies based on personal preference and playing style.
Drying Out the Willow
Post-cutting, it’s time to dry out the willow as moisture affects the bat’s performance. It takes anywhere from 4 to 6 weeks for naturally air drying but can be sped up using ovens/furnaces down to a few days, although small loss of natural fibres rigidity may occur. Note that the desired moisture content stands at around 20%.
Full Video in Youtube
Joining Bats & Handles and Preparing The Bat
Once dry, prepare both ends—the top gets shaped into a semi-circle where handle fits snugly; while base-end undergoes rounding off process as it hits cricket balls regularly This part is crucial for balance and handling.
Afterwards, join them with binding twine. For stability, glue the willow shoulder and cane together then wind more twine round this region tightly.
Now it’s sanding time. To achieve perfect smoothness needed in final performative stages apply gradation principle: start from rough abrasives gradually reaching finest one.
Adding Finishing Touches
Finally, traditional oils like raw linseed oil are applied on the bat providing moistening effect resisting cracking or splitting during games besides enhancing durability.
Caring For Your Cricket Bat
Taking care of your custom-made cricket bat ensures prolongs its lifespan. Always store it in cool & dry places away from extreme temperatures; never leave outdoors overnight due rain damage potential.
Also important – knock-in new bats before use by hitting lightly using special mallet emulating actual game play involving about 8 hours or longer depending how often used.
In conclusion, crafting your very own cricket bat is undoubtedly labour intensive but incredibly rewarding allowing you to connect more deeply with cricket sport itself through mastered handicraft skills because not only does it better understand equipment construction intricacies but also appreciate time and work manufacturers put into getting every detail right just so players could grab ideal gear maximising their sporting experience powerfully out on field!