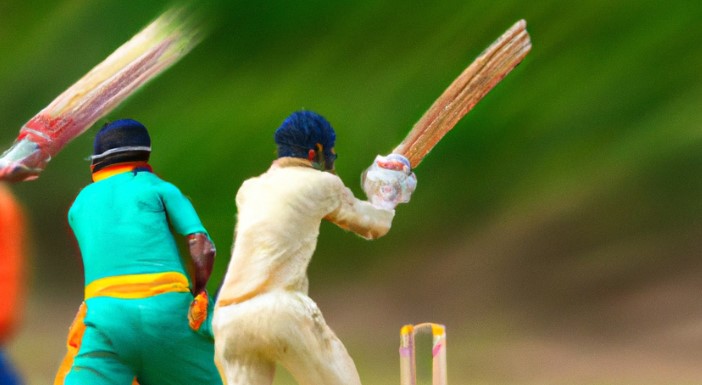
How to clean a cricket bat
Prolonging the life and improving the performance of your cricket bat significantly depends on how well you take care of it. Effective cleaning is an integral part of maintaining your cricket bat. A clean bat not only looks better but also performs more efficiently and lasts for a longer time.
- Why Is Cleaning Your Cricket Bat Important?
- Dirt Accumulation
- Oil Absorption
- Mold Growth
- How To Clean a Cricket Bat
- Step 1: Materials Needed
- Step 2: Inspection
- Step 3: Removing Surface Dirt
- Step 4: Sanding the Bat
- Step 5: Oiling the Bat
- Step 6: Knocking-in Process
- Tips For Maintaining Your Cricket Bat
- Conclusion
Why Is Cleaning Your Cricket Bat Important?
Cricket bats, typically made out of willow wood, can get dirty and marshy if they are not properly maintained. Dirt in addition to moisture can be damaging to the wood causing splits or cracks over time. Therefore, regular cleaning and maintenance should be an essential routine for all cricket enthusiasts.
Dirt Accumulation
With continuous use, dirt accumulates on the surface of the bat which may influence its performance negatively. The dirt could potentially create a slight misbalance or impact contact between the ball and the bat.
Oil Absorption
If left uncleaned, dirt particles might hinder effective absorption of linseed oil by the willow wood. This fundamental oiling process has to happen regularly to keep the bat supple and prevent drying out.
Mold Growth
It is highly likely that mold can grow on dirty cricket bats stored in moist conditions. Besides looking unpleasant, long-term mold growth can make damage to the wooden fibres of your bat.
How To Clean a Cricket Bat
After understanding why cleanliness is so necessary let’s identify how we can clean our cricket bat step-by-step:
Step 1: Materials Needed
Gather everything you need – some fine grit sandpaper (around 240-400 Grit), a soft cloth or rag, Linseed Oil/ specialized Cricket Bat oil, cork ball for knocking-in and soap solution or mild detergent.
Step 2: Inspection
Perform a thorough inspection of your cricket bat for damage such as cracks or splits. If the damage is too severe, it might be best to seek professional help.
Full Video in Youtube
Step 3: Removing Surface Dirt
Use a mild soap solution or detergent and a soft cloth to gently rub dirt off from the surface. Do not soak the whole bat in water, as this can do more harm than good to the wood.
Step 4: Sanding the Bat
After wiping the surface clean and letting it dry, lightly sand down any rough areas using fine grit sandpaper. This process should give your cricket bat a smooth finish.
Step 5: Oiling the Bat
Apply a light coat of oil across the face of your cricket bat with a piece of cloth. It’s essential to perform this step as oils keep the willow supple which aids in preventing cracking or splitting. Remember not to over-oil as it may reduce the ping in your bat.
Step 6: Knocking-in Process
Knock in any new cricket bats after cleaning and oiling. Use an old ball (or a special mallet) to gradually harden wooden fibres on edges and surfaces before putting it to extreme use again. Repeat until no visible indentation caused by knocking occurs.
Tips For Maintaining Your Cricket Bat
Cleaning alone wouldn’t guarantee the lifespan if other factors are neglected. Following some maintenance practices regularly could significantly prolong its life:
The cricket bat should always be stored in low-humidity conditions. High humidity levels can lead to moisture build-up rotting resulting decay;
Avoid exposing cricket bats directly under sunlight for prolonged times. Extreme heat can cause wood expansion leading them to crack;
Always use proper protective equipment like edge tapes or extratec cover sheets that save from excessive damages during game play.
Conclusion
Once you have spent some good money on a high-quality cricket bat, protect your investment by giving it the care and maintenance it deserves. Regular cleaning is not just beneficial for aesthetic reasons but also greatly enhances cricket bats’ performance and longevity. Remember, every extra run can make a difference!